Cómo configurar Google Analytics
Google Analytics se utiliza para ver y comprender el tráfico web.
Es gratis y fácil de usar.
Puede personalizarlo para muchos casos de uso.
Funciona fuera de la caja.
Es rápido de configurar. Obtenga sus ideas hoy!
Crear mi sitio web gratis ❯Omita la lectura sobre Google Analytics. Llévame directamente al primer paso. Ir al primer paso
¿Qué es Google Analytics?
Google Analytics es una solución de análisis web.
Está desarrollado y respaldado por Google.
La versión más nueva se llama Google Analytics 4.
Se puede usar para ver datos como audiencia, páginas vistas, sesiones y datos demográficos y eventos.
Por qué habilitar Google Analytics
Entiende tu tráfico web para tomar mejores decisiones.
Comprender y mejorar el embudo de ventas.
Aprende experimentando (por ejemplo, pruebas a/b).
Google tiene otra solución llamada Google Optimize. Esta solución está hecha para probar.
Para quién es Google Analytics
Google Analytics es útil para cualquiera que tenga un sitio web.
Le brinda información sobre quién usa su sitio y cómo interactúan con él.
Además, la interfaz es fácil de entender.
No necesita experiencia en análisis para usar y navegar el servicio.
Cómo configurar Google Analytics paso a paso
Google Analytics se puede configurar de dos maneras : la etiqueta global del sitio web (gtag.js) o Google Tag Manager .
La forma más fácil es usar la etiqueta global del sitio web.
Este tutorial utilizará el enfoque de la etiqueta de sitio web global.
Preparativos
Decida qué editor de código usar y configure su entorno.
W3Schools ha creado un editor de código fácil de usar llamado W3Schools Spaces . Regístrese y comience con unos pocos clics.
Comienza gratis ❯Cree su archivo index.html para que esté listo para ingresar el código.
Toda la configuración. ¡Vamos!
Configurar Google Analytics: la etiqueta global del sitio web
Paso 1: Cree una cuenta de Google Analytics
Ir a Analytics: Cree una cuenta o inicie sesión en Analytics
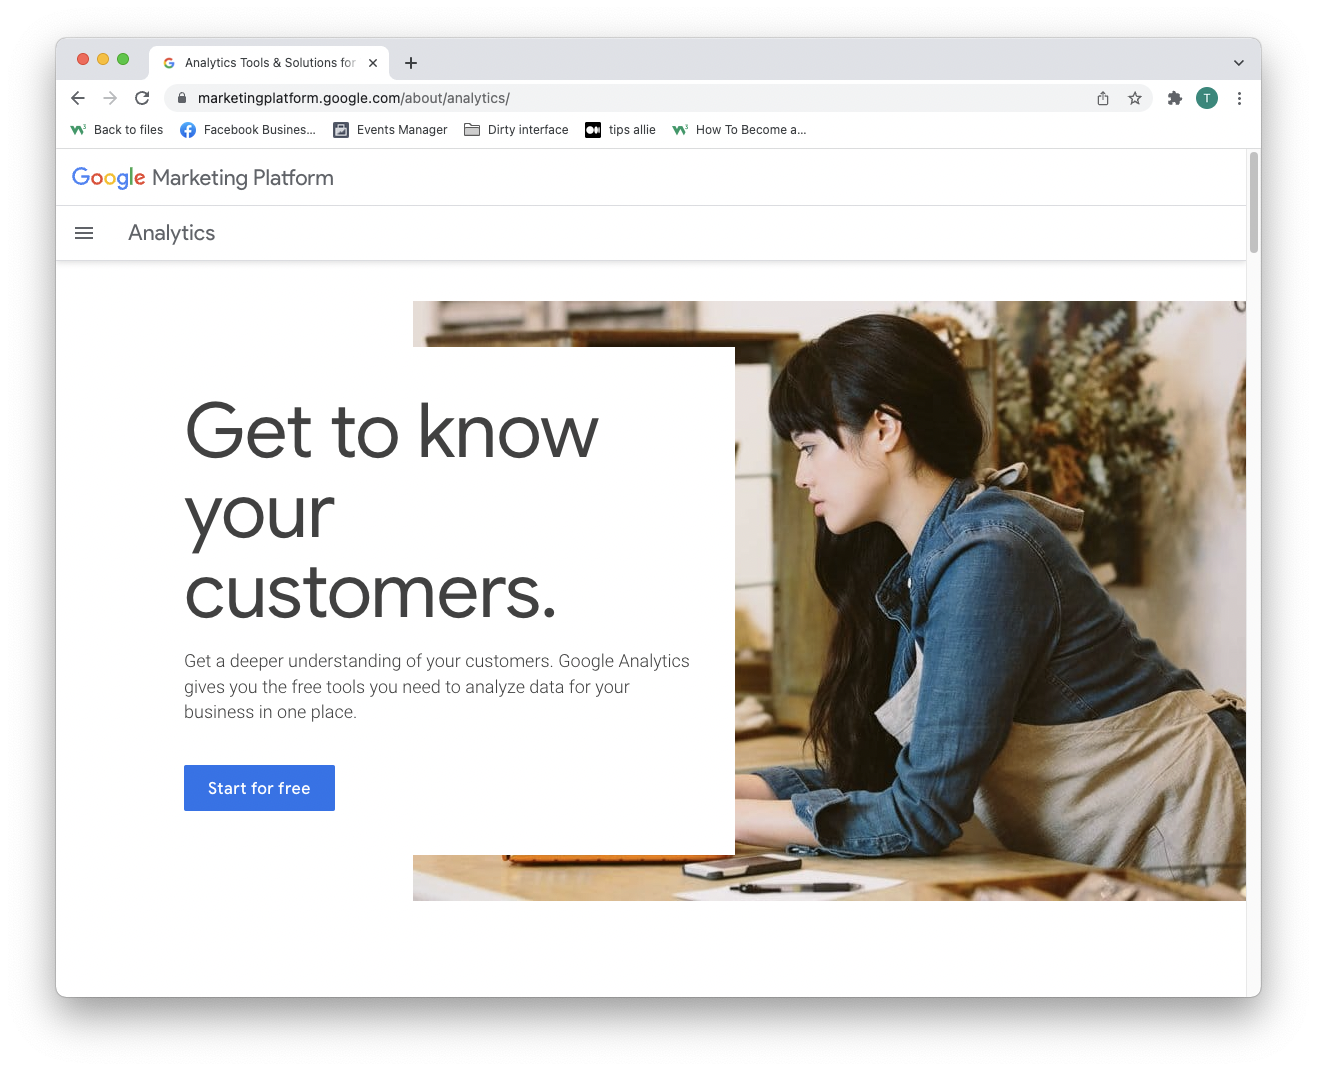
El enlace en el párrafo anterior lo lleva a la página de inicio de Google Analytics.
Haga clic en el botón "Empezar gratis".
Paso 2: Ingresa a la página de bienvenida
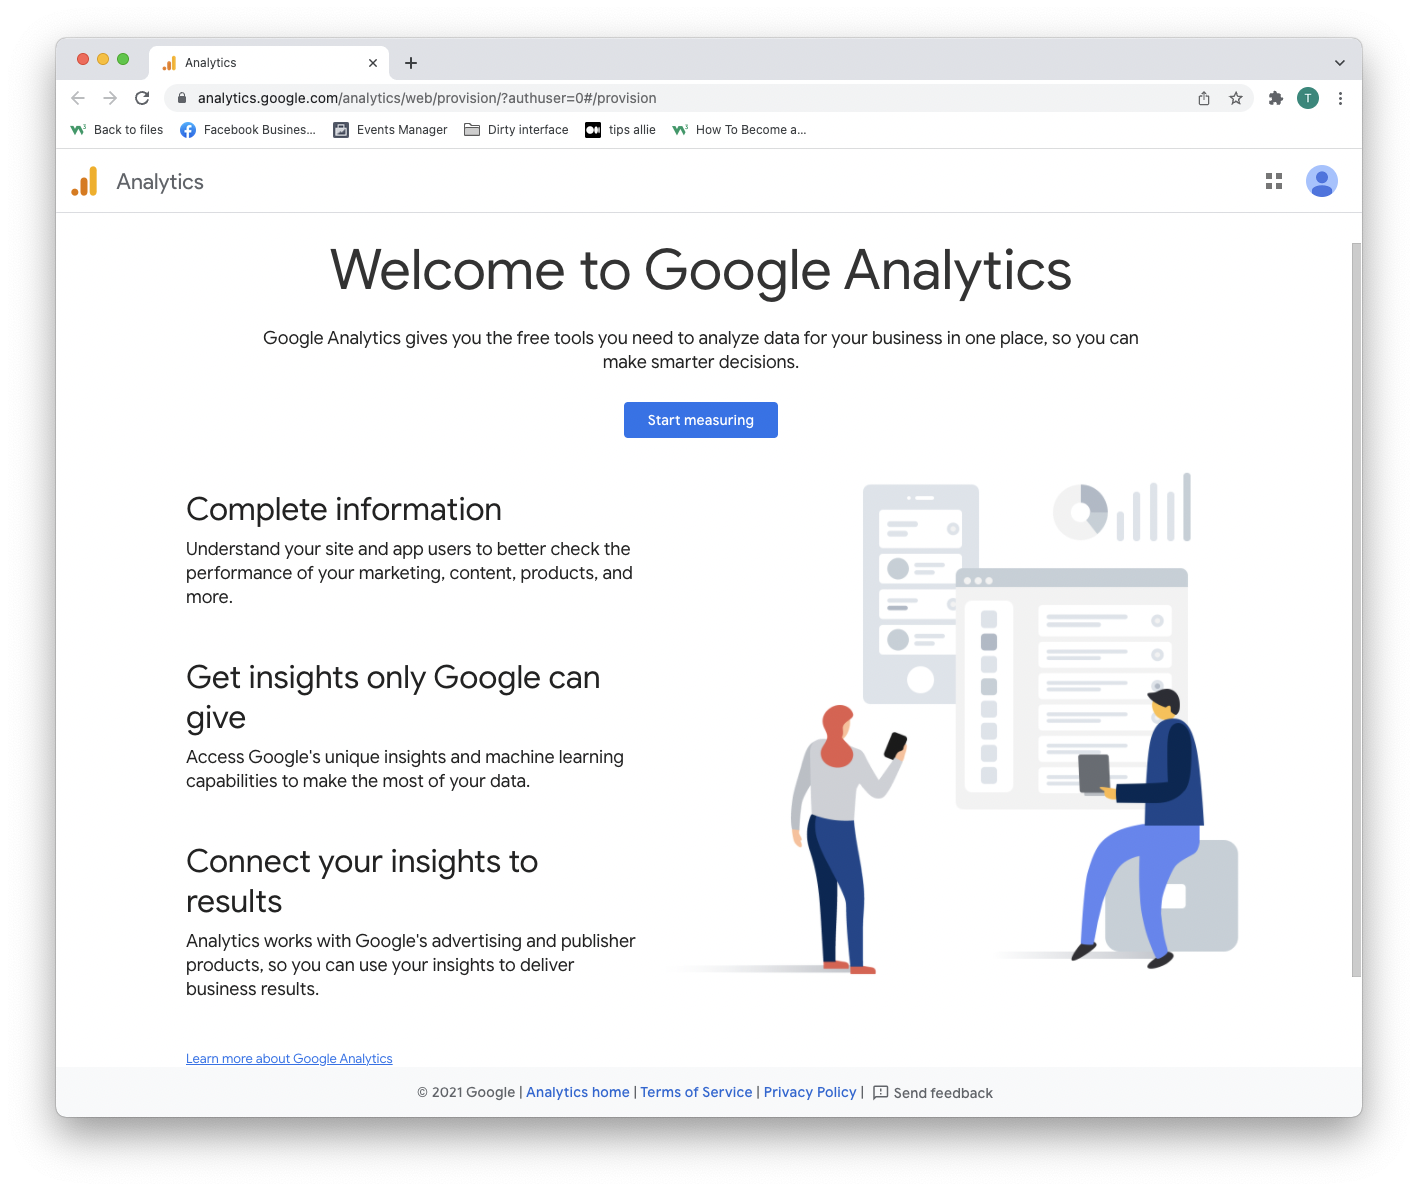
Después de crear una cuenta o iniciar sesión, se le da la bienvenida a la solución.
Pulse el botón "Comenzar a medir" para continuar.
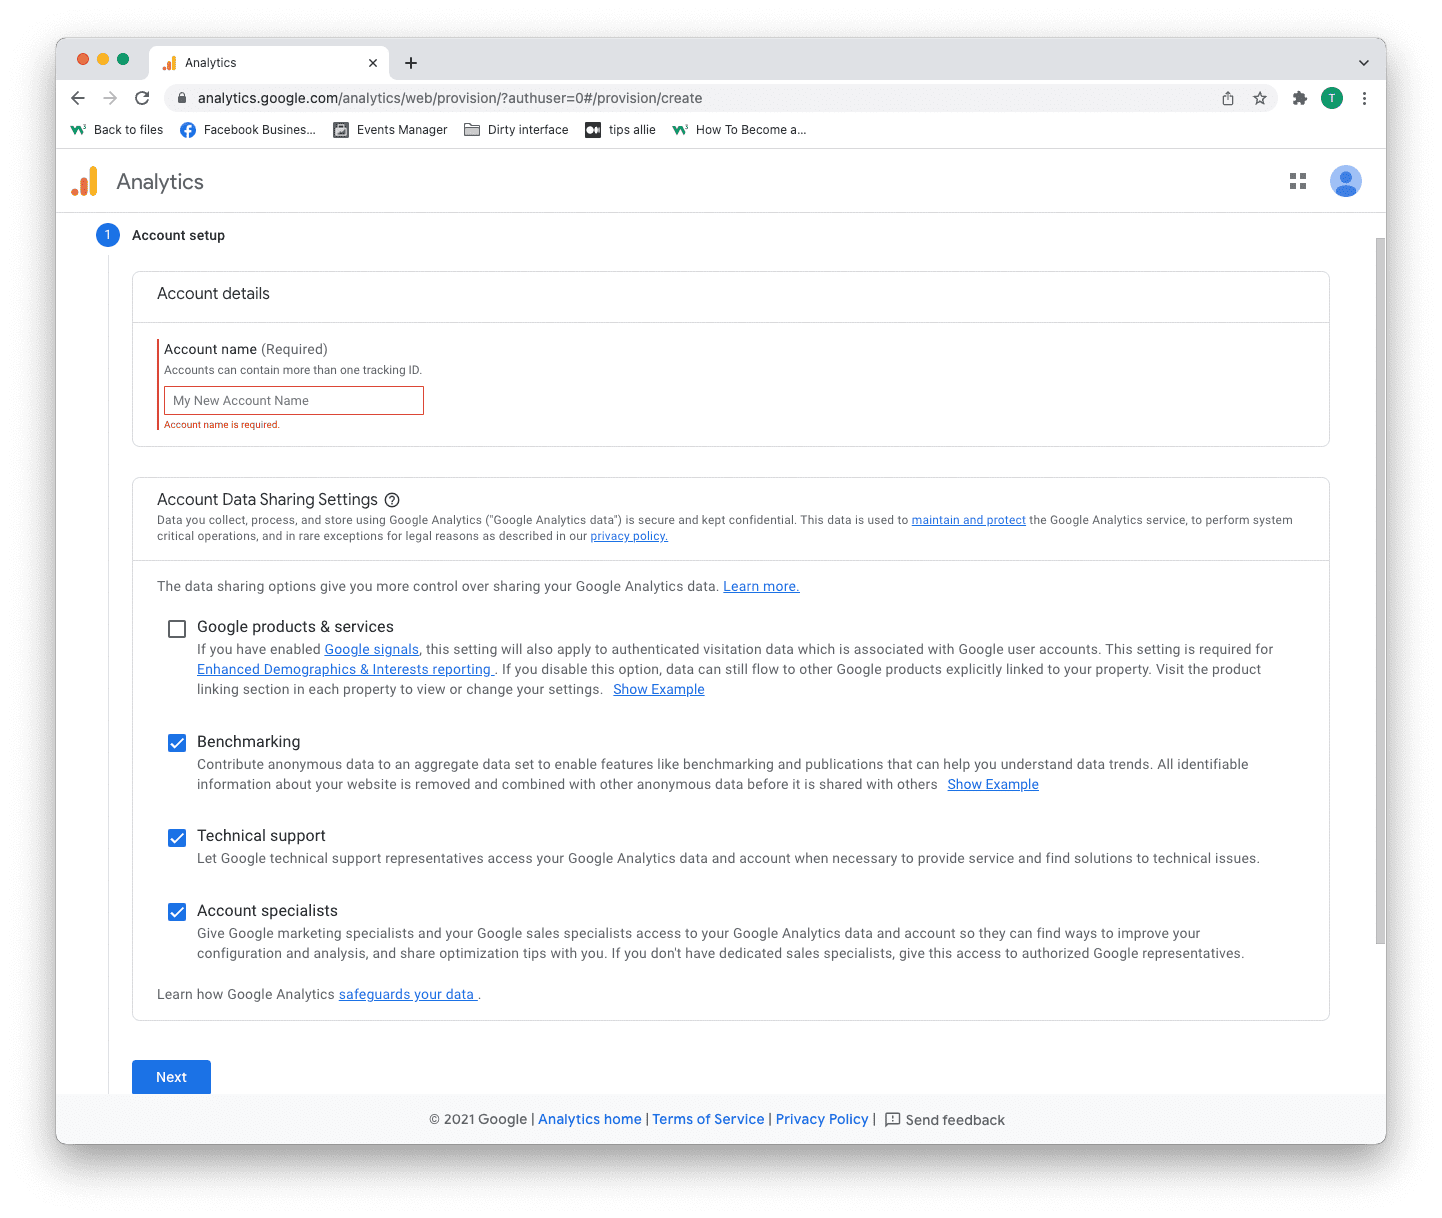
Paso 3: configuración de la cuenta
Tienes dos decisiones que tomar aquí.
- Introduzca su nombre de cuenta.
- Decide qué datos quieres compartir.
- Haga clic en el botón "Siguiente".
Una cuenta puede tener más de un ID de seguimiento. Puede rastrear más de un sitio web con una cuenta.
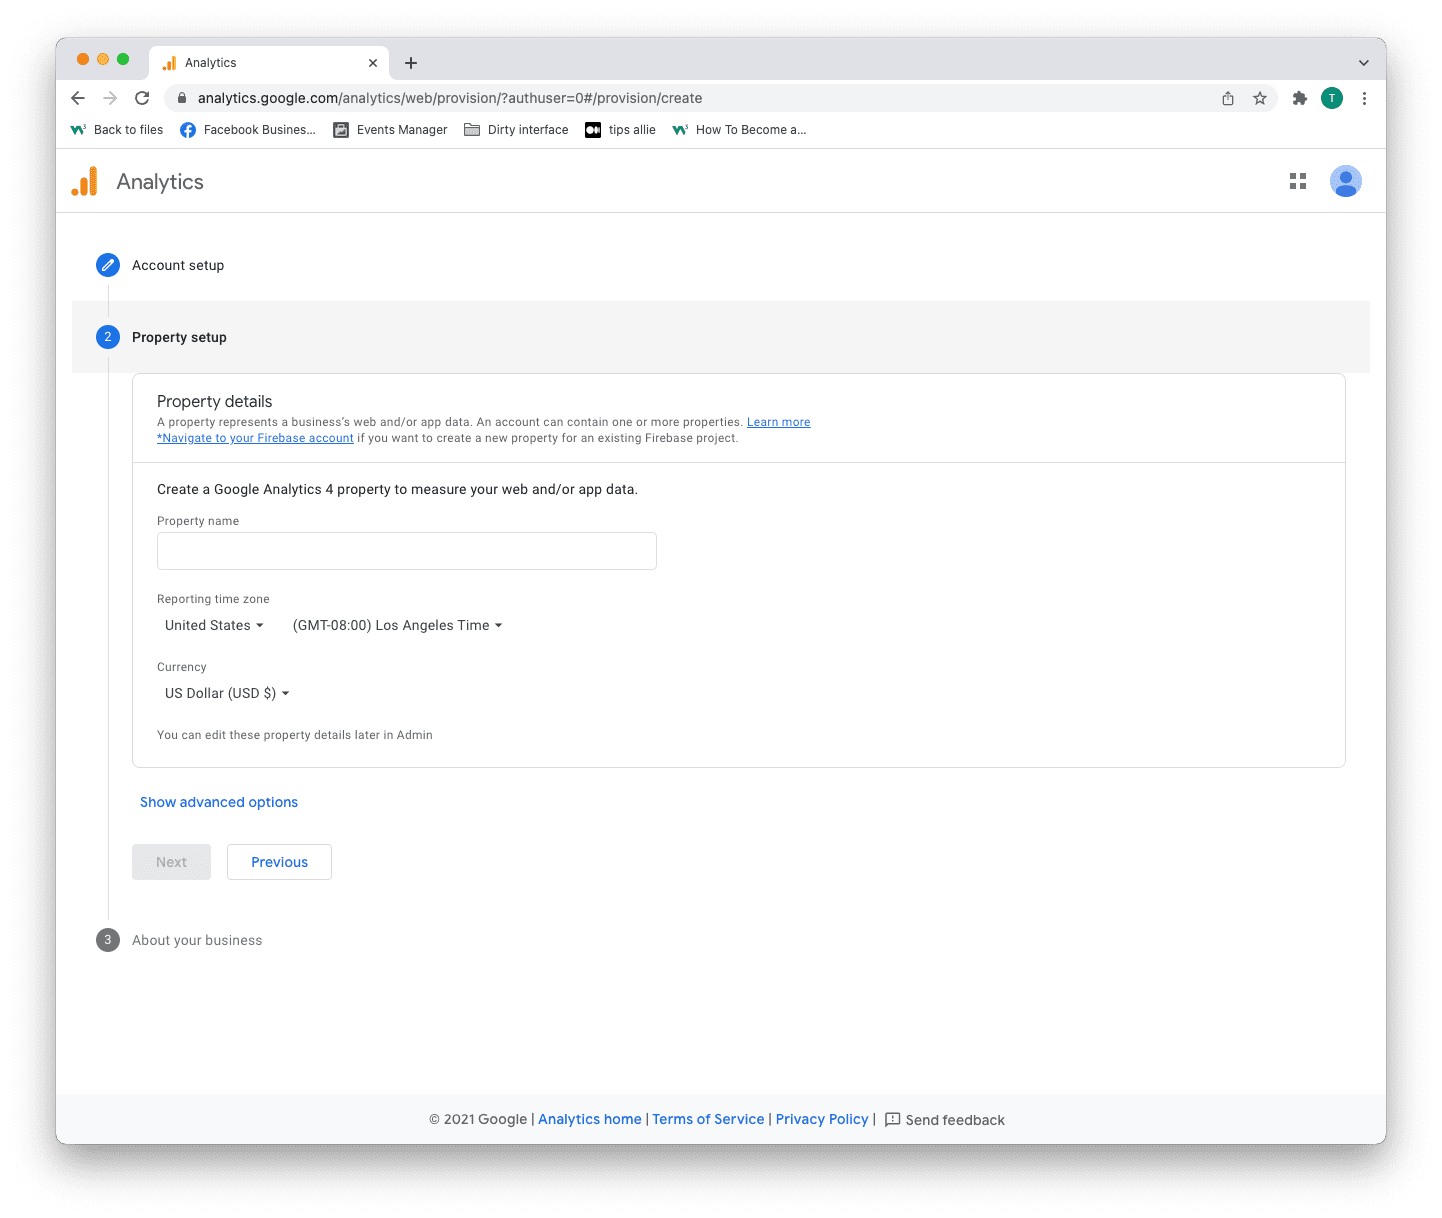
Paso 4: configuración de la propiedad
La propiedad es el servicio que mide, como un sitio web, una aplicación, un árbol de enlaces, etc.
- Introduzca un nombre de propiedad.
- Introduzca su zona horaria.
- Introduzca la moneda que utiliza.
- Haga clic en el botón "Siguiente".
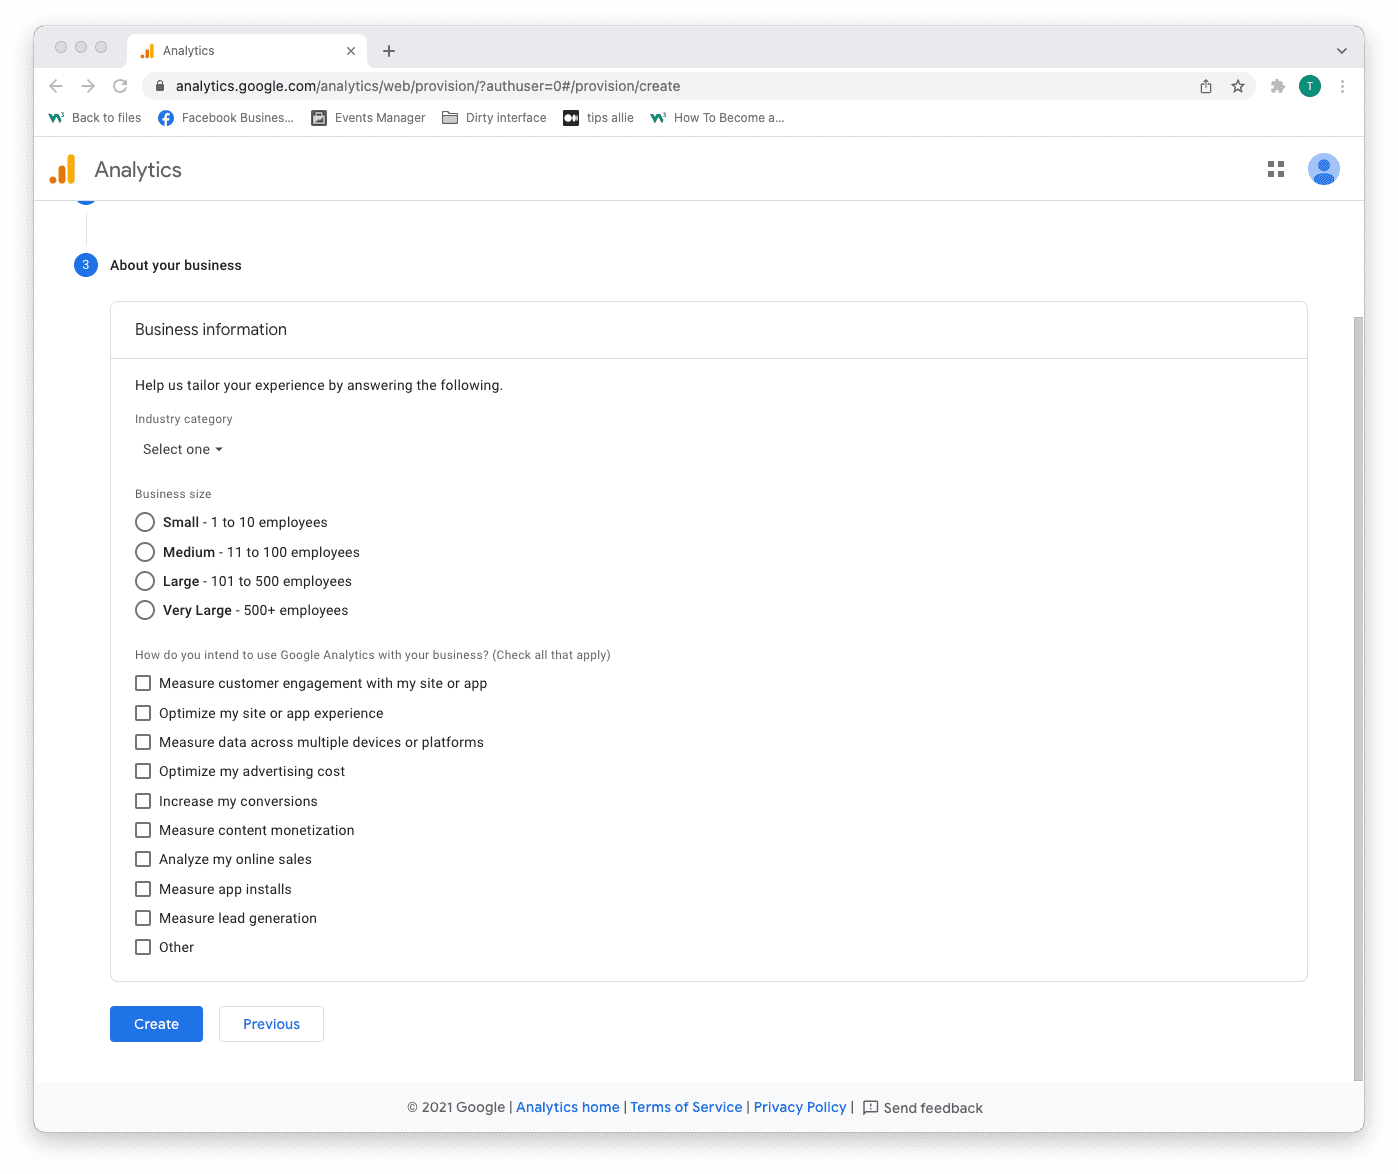
Paso 5: Agregar información comercial
Analytics utiliza la información para personalizar su experiencia.
- Seleccione su categoría de industria.
- Seleccione el tamaño de la empresa.
- Tick the boxes for how you are planning to use Analytics.
- Click the "Create" button to proceed.
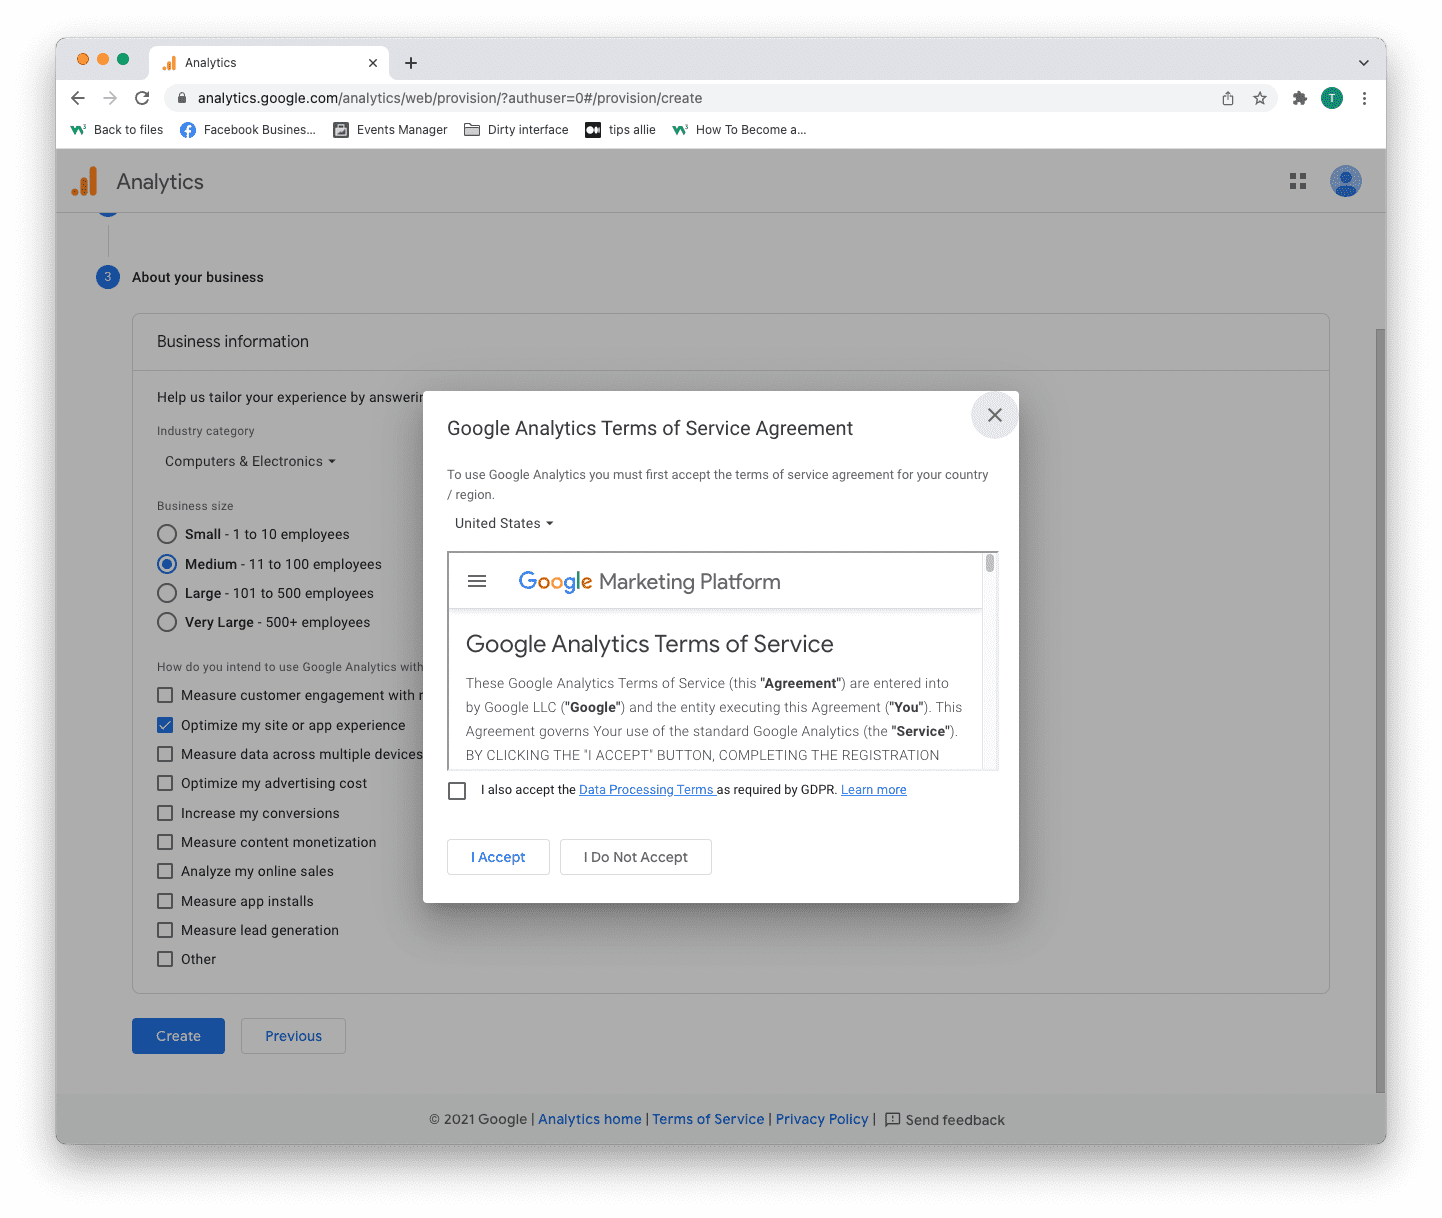
Step 6: Terms of Service Agreement
Read and understand the terms of service.
Tick the GDPR box and click the "I accept" button if you agree.
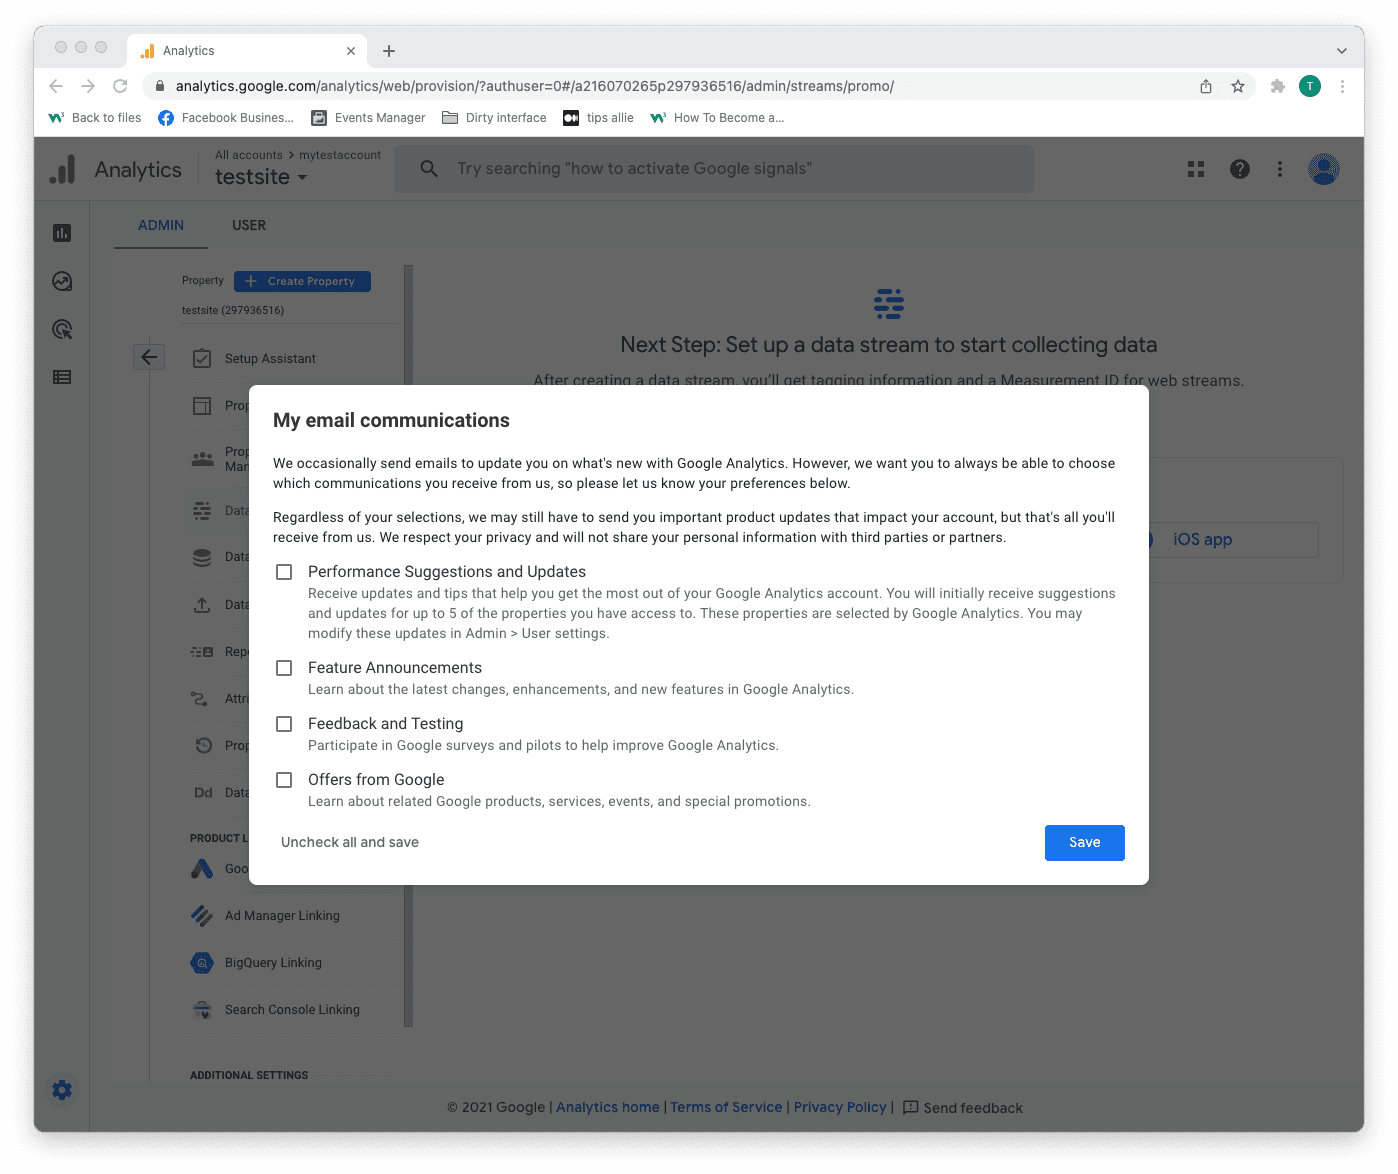
Step 7: Email subscriptions
- Tick or uncheck all boxes.
- Click the "Save" button to continue.
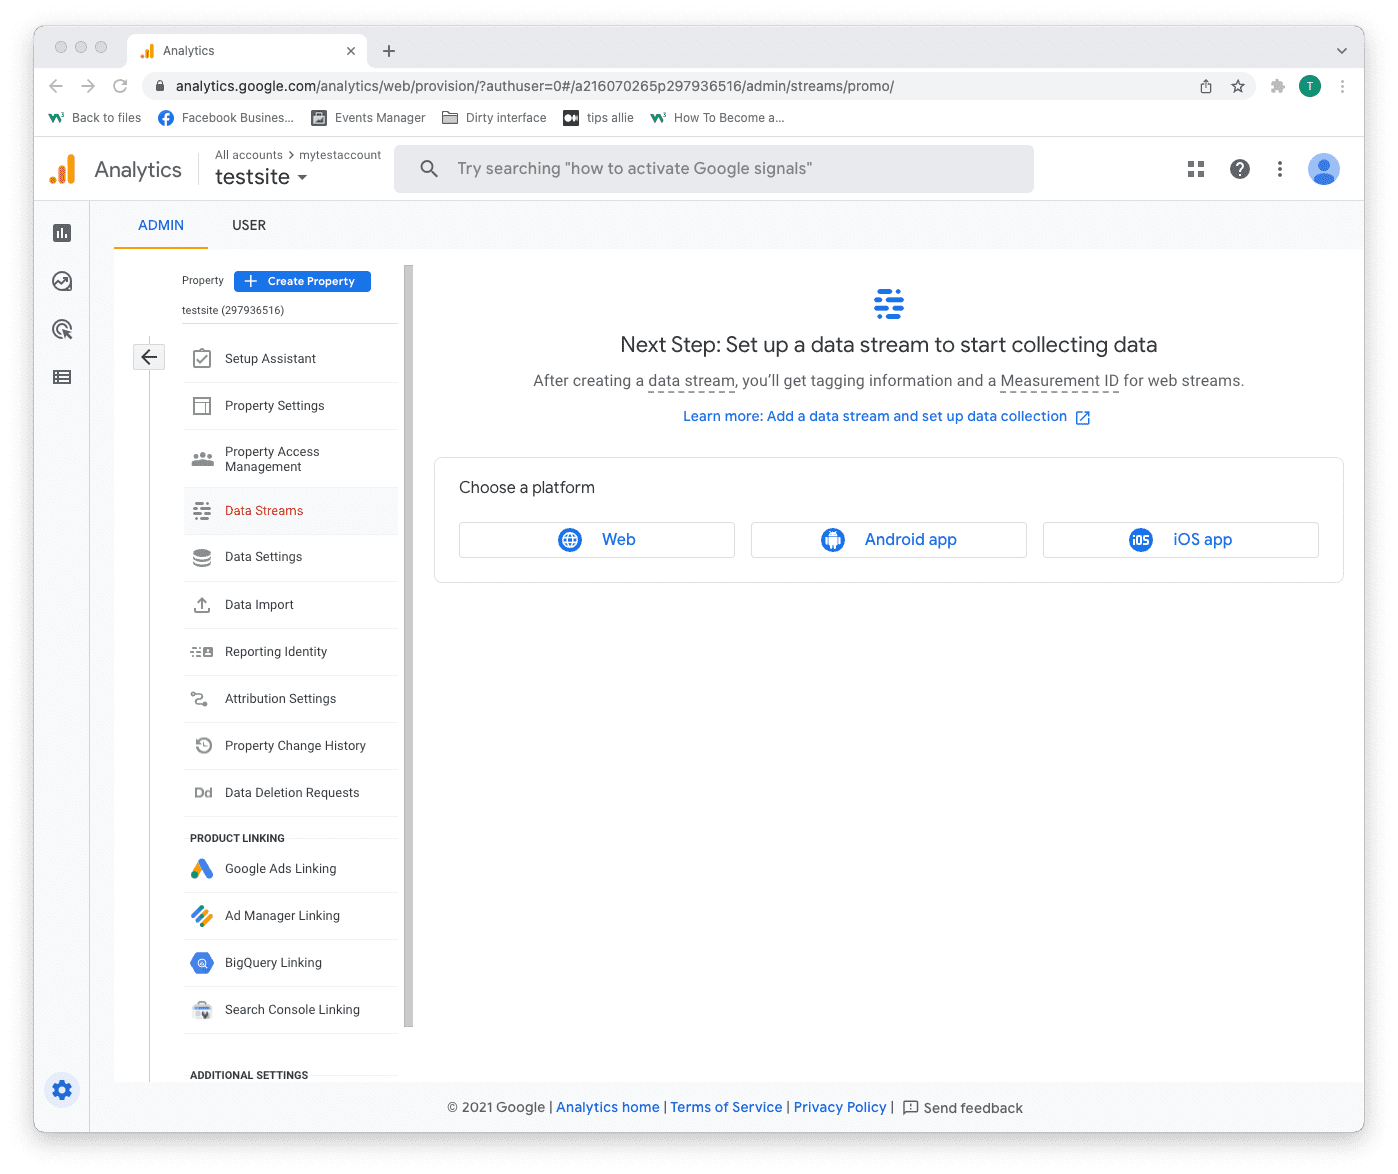
Step 8: Select platform
Chose the platform where you are collecting data.
Then, click the relevant platform to continue.
We are continuing with "Web" as the example in this tutorial.
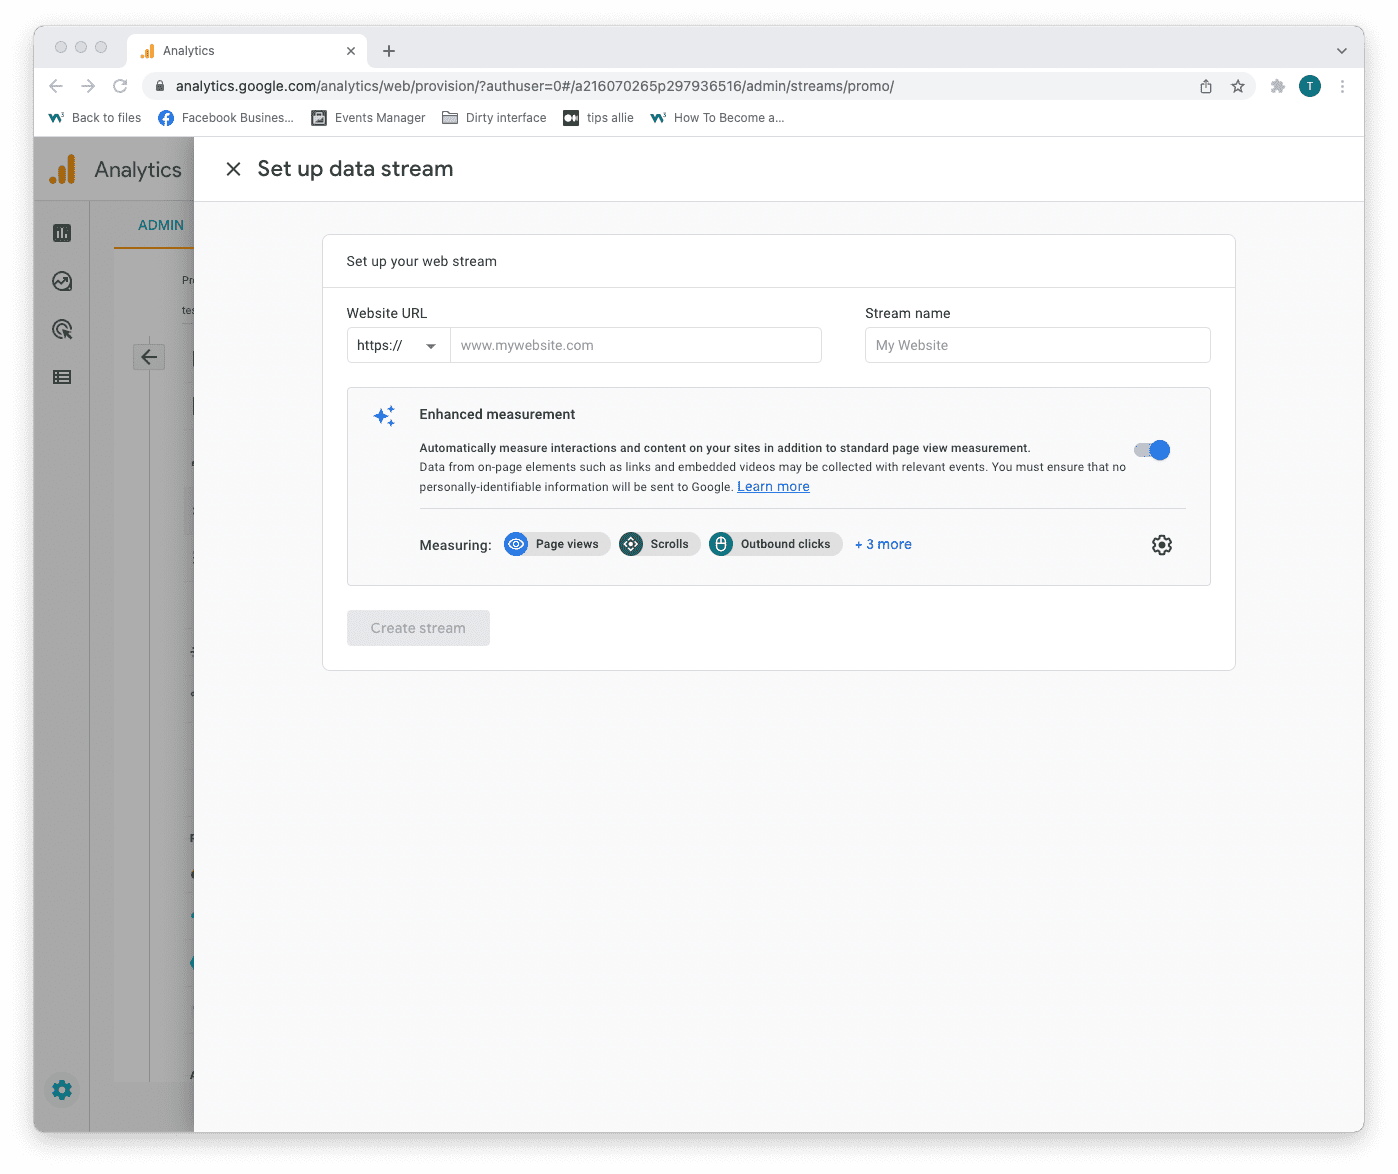
Step 9: Data stream setup
Enter data stream details.
- The URL to your site.
- The name that you want to give the stream.
- Decide if you are to enable enhanced measurement or not.
- Click on the "Create stream" button to continue.
The enhanced measurement can give the data more context. Improving your understanding of the traffic.
Step 10: Web stream overview
Here you can see a detailed overview of the web stream.
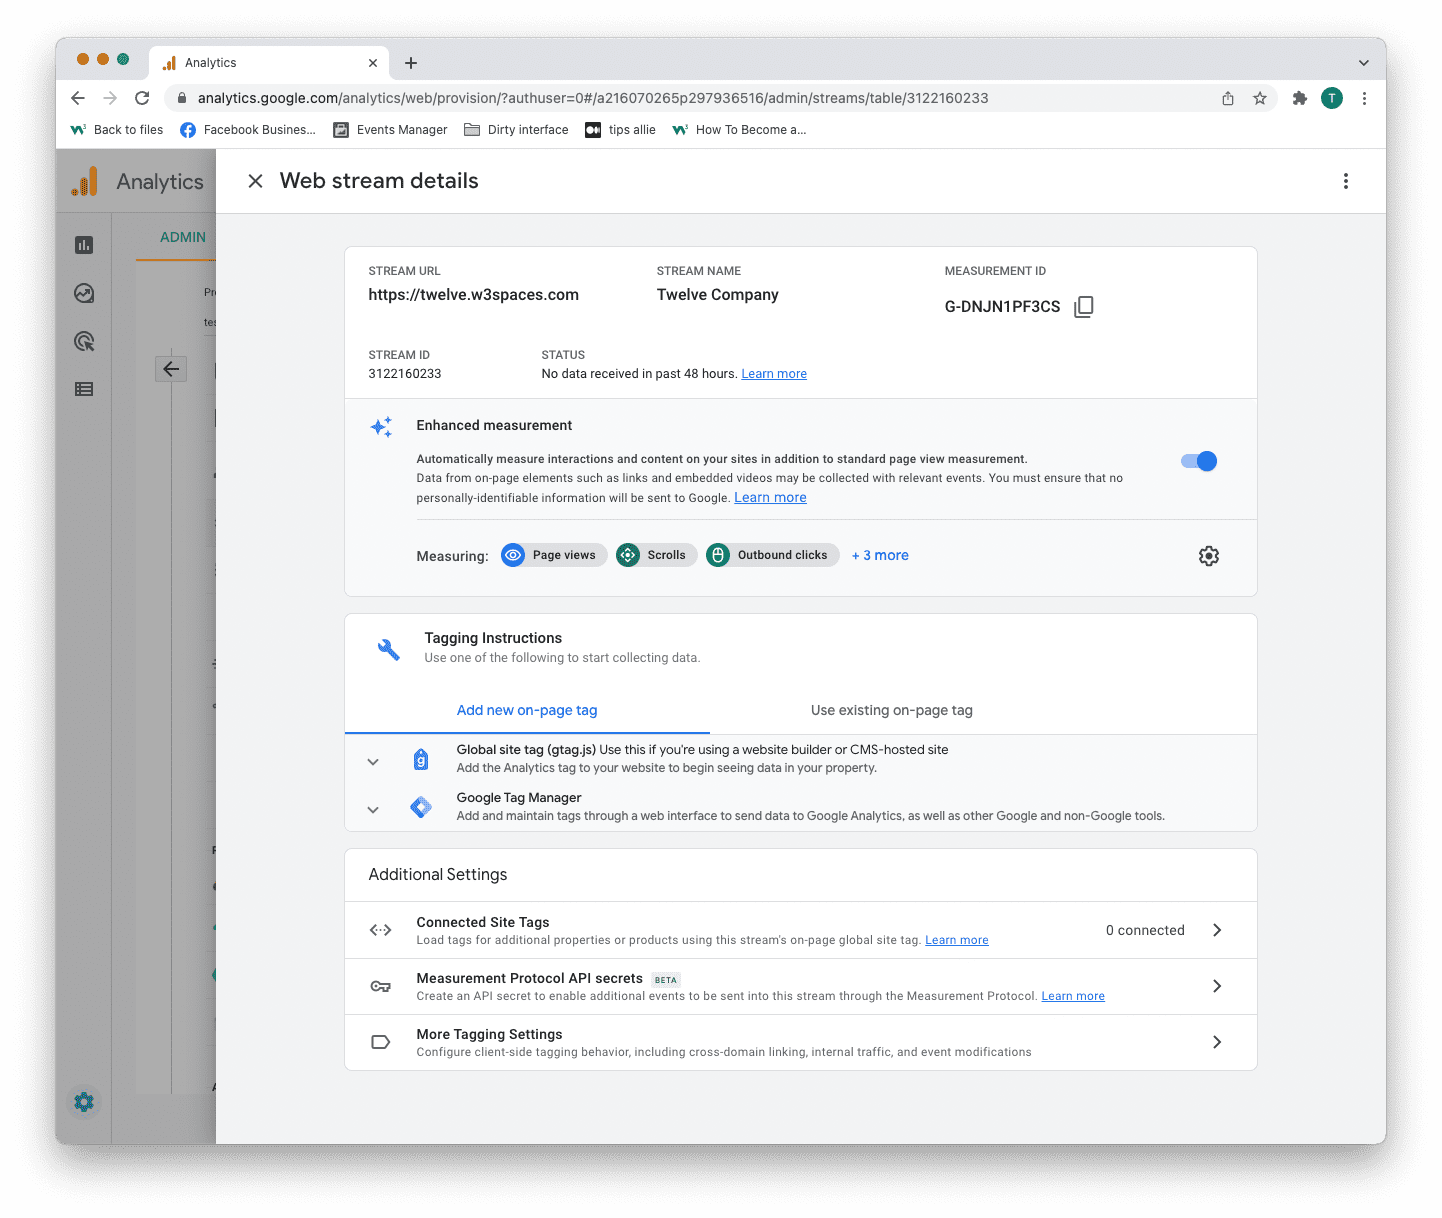
Here are the key takeaways from the overview.
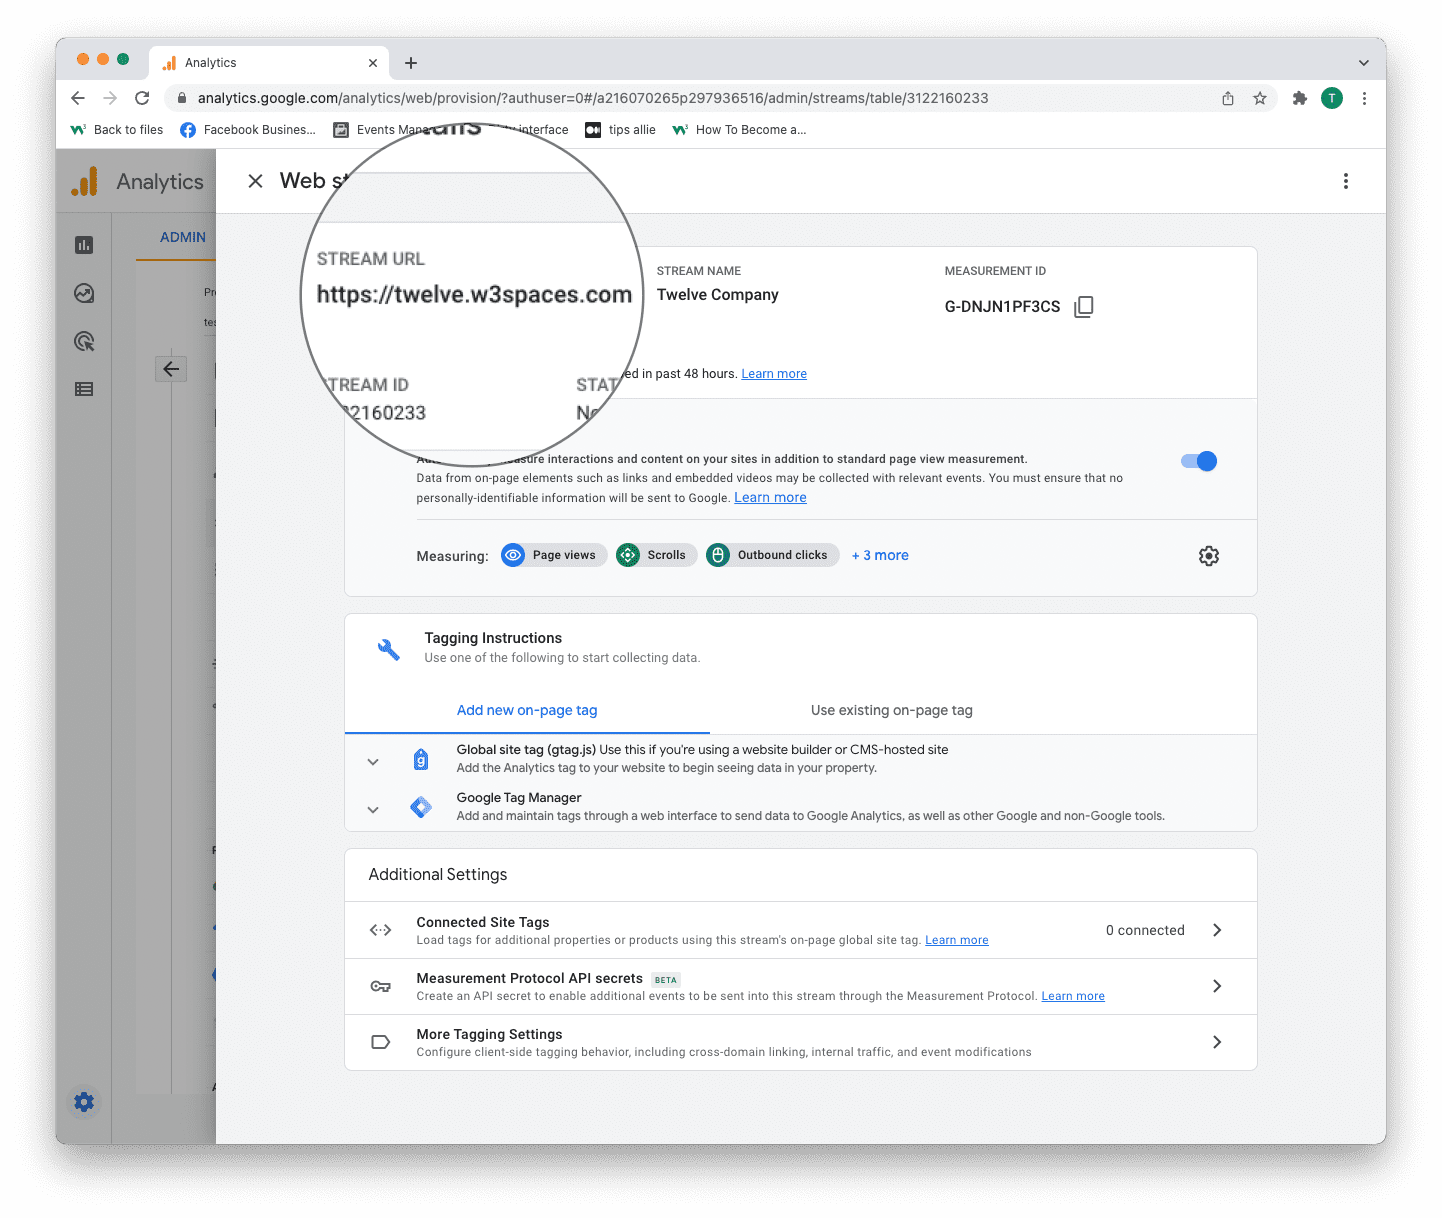
1. Stream URL.
The Stream URL is the link to the connected site.
2. Measurement ID
The Measurement ID is the identifier for your data stream.
It has a format of G-XXXXXXX.
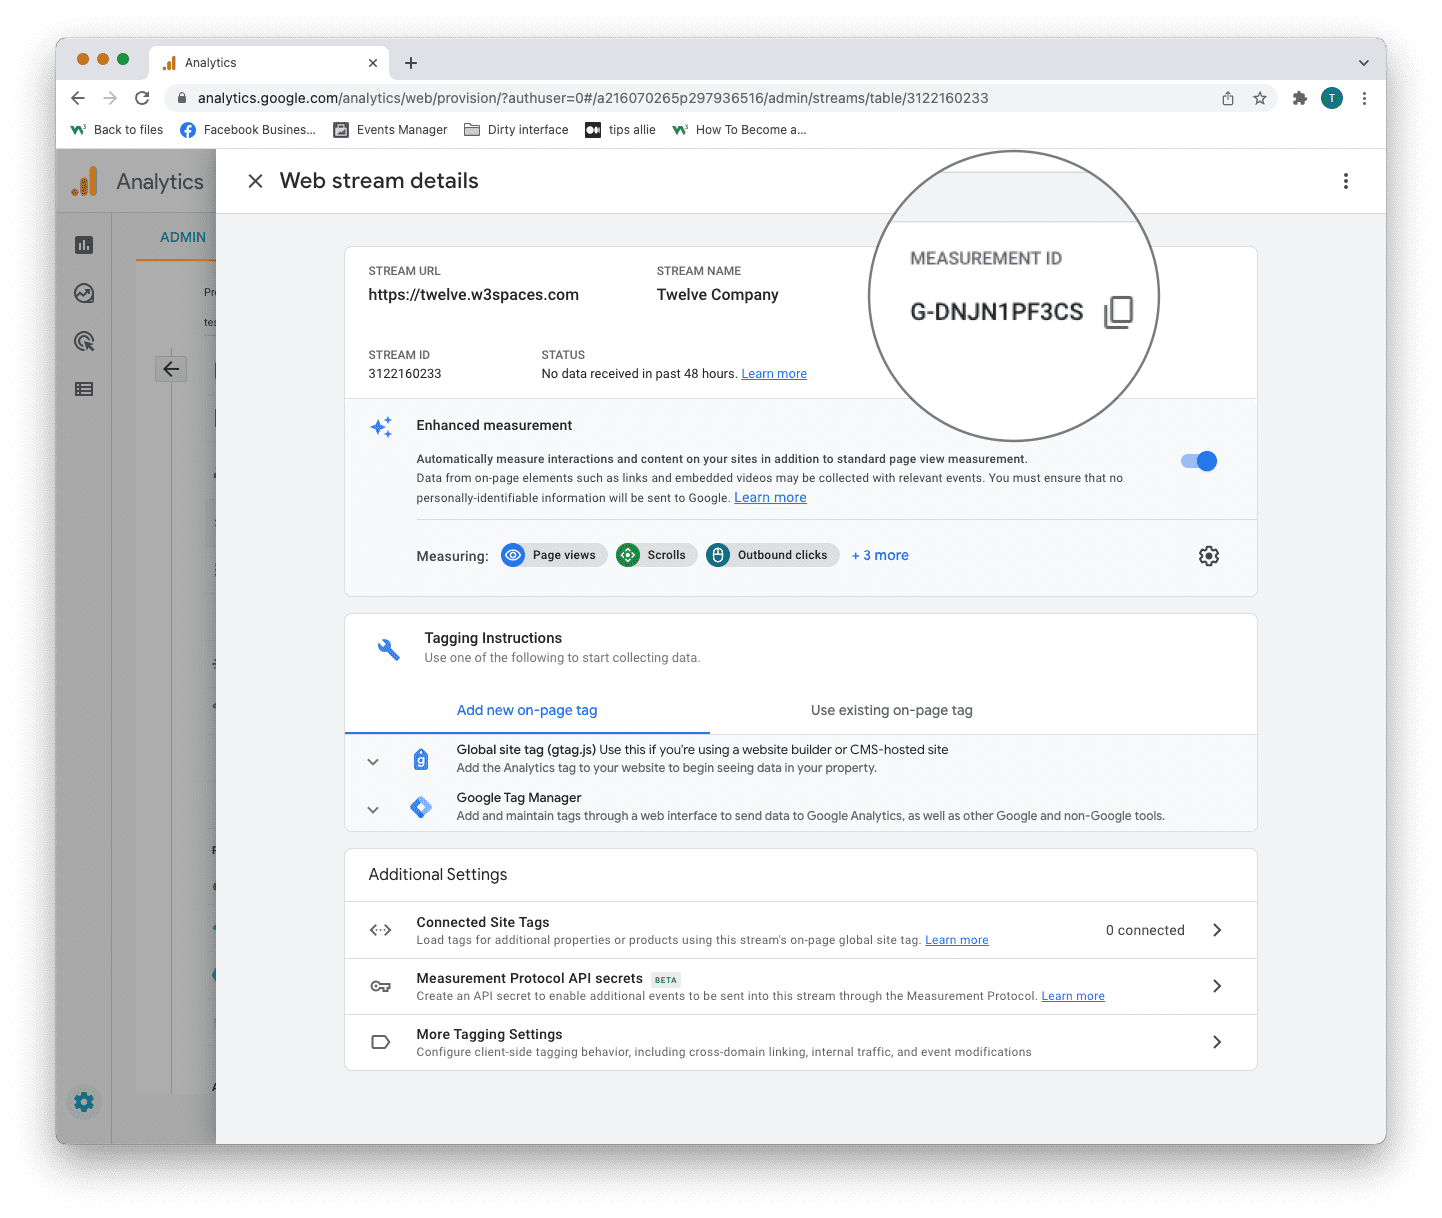
Google Analytics 4 uses Measurement ID. Older versions use Tracking ID. You can not have both.
3. Tagging instructions
Decide to use Global site tag (gtag.js) or Tag manager.
This tutorial will use the Global site tag.
Installing the Global site tag is the easiest and quickest way of getting it up and running.
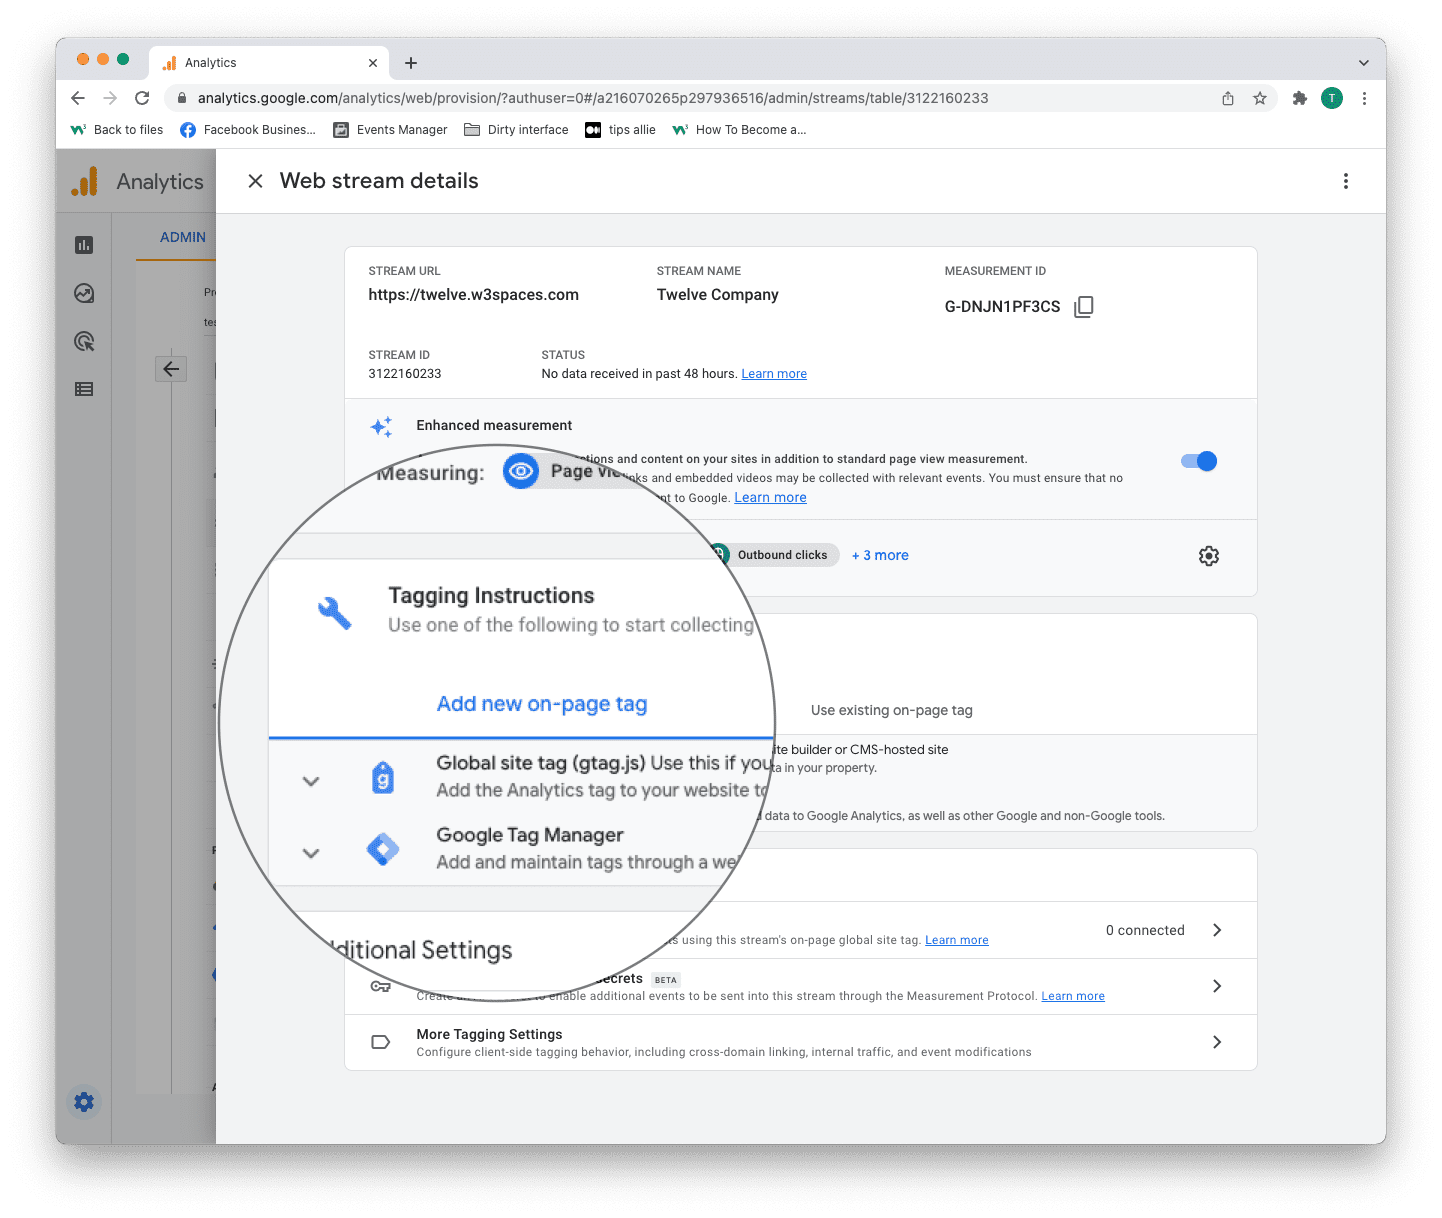
Step 11: Global site tag (gtag.js)
Click the "Global site tag (gtag.js)" row.
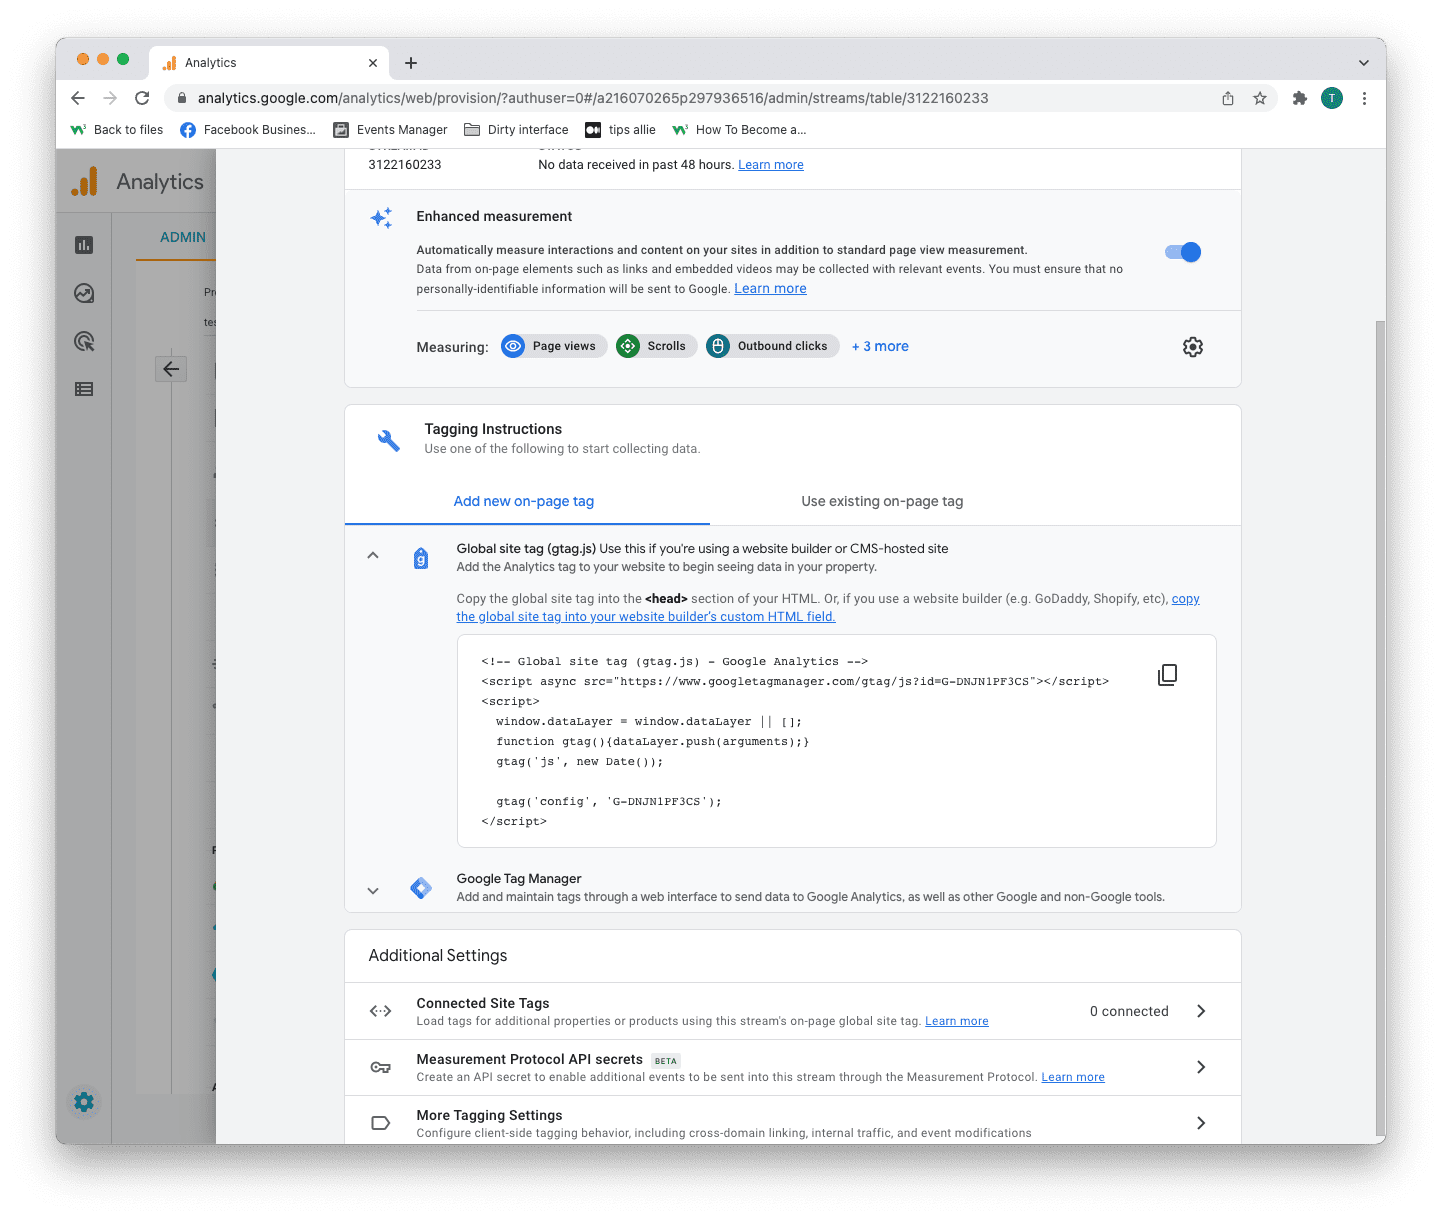
Here you can see a code snippet.
The code snippet is a script to allow Google to measure data on your site.
You can see the Measurement ID in the second last line in the code snippet.
The code snippet
<!-- Global site tag (gtag.js) - Google Analytics -->
<script async src="https://www.googletagmanager.com/gtag/js?id=G-DNJN1PF3CS"></script>
<script>
window.dataLayer = window.dataLayer || [];
function gtag(){dataLayer.push(arguments);}
gtag('js', new Date());
gtag('config', 'G-XXXXXXX');
</script>
Step 12: Enter the code snippet
Copy the code snippet.
Make sure to include your Measurement ID.
Locate the <head> tag in your HTML.
Paste the code snippet just below the <head> tag.
Save and publish the code.
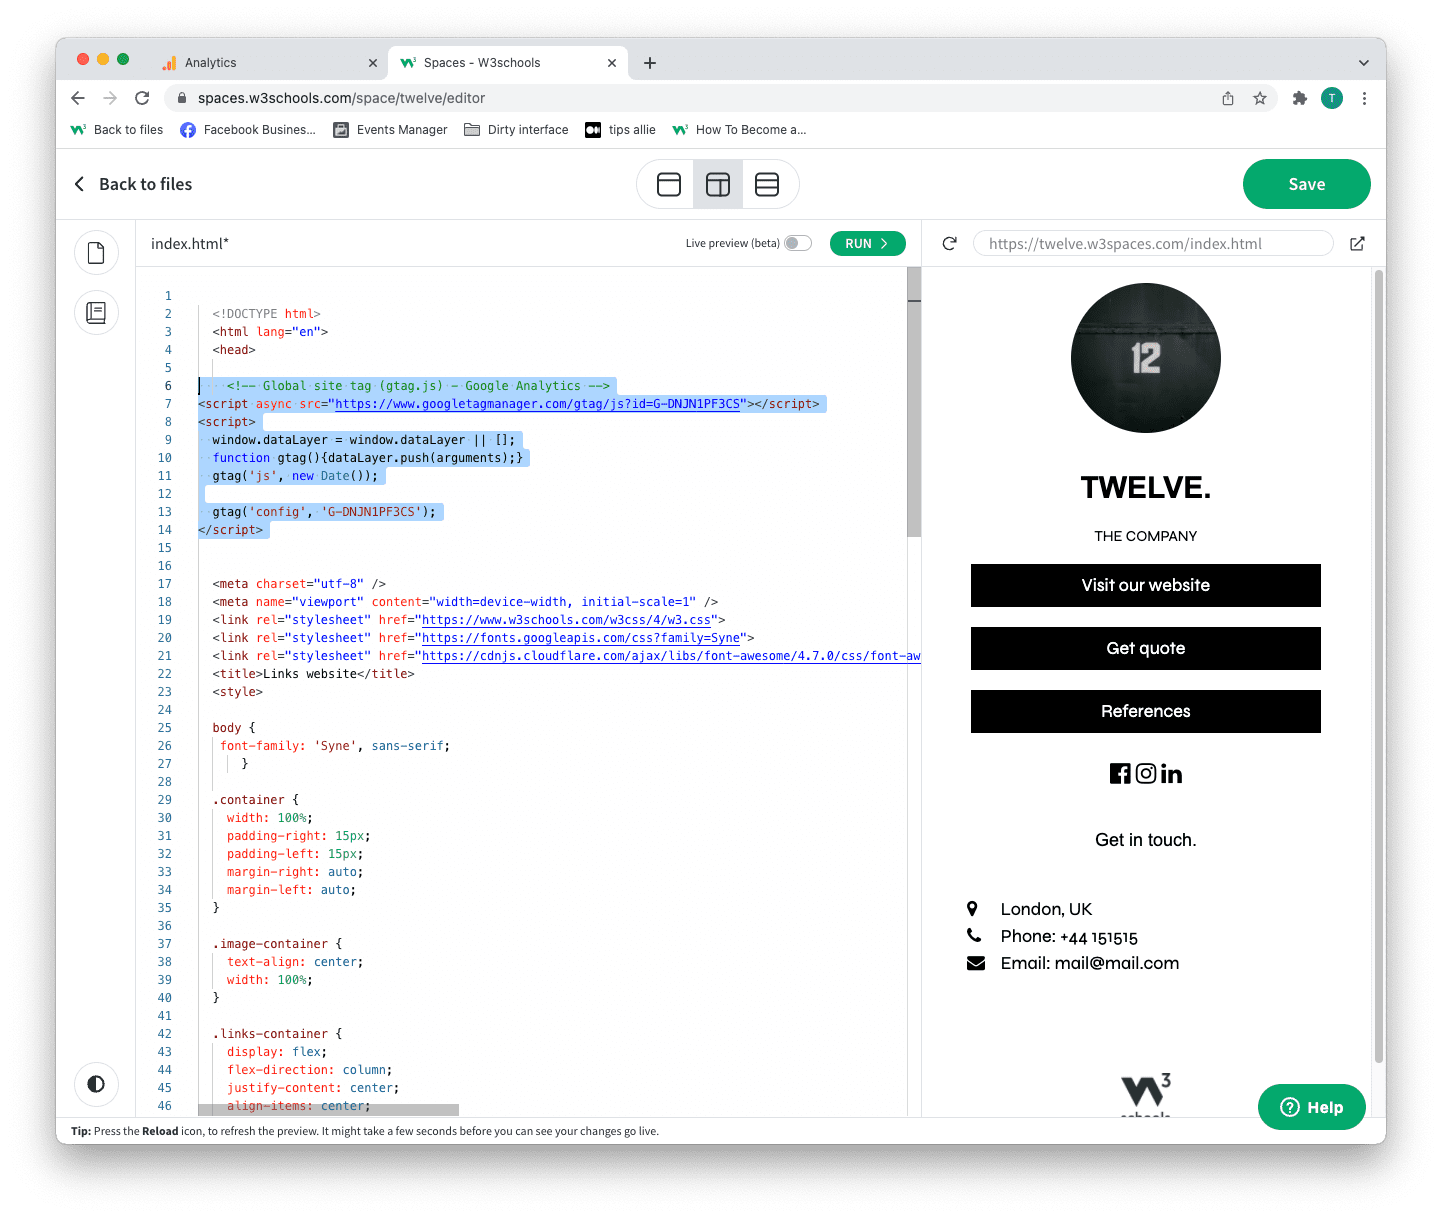
We used W3Schools Spaces in this example.
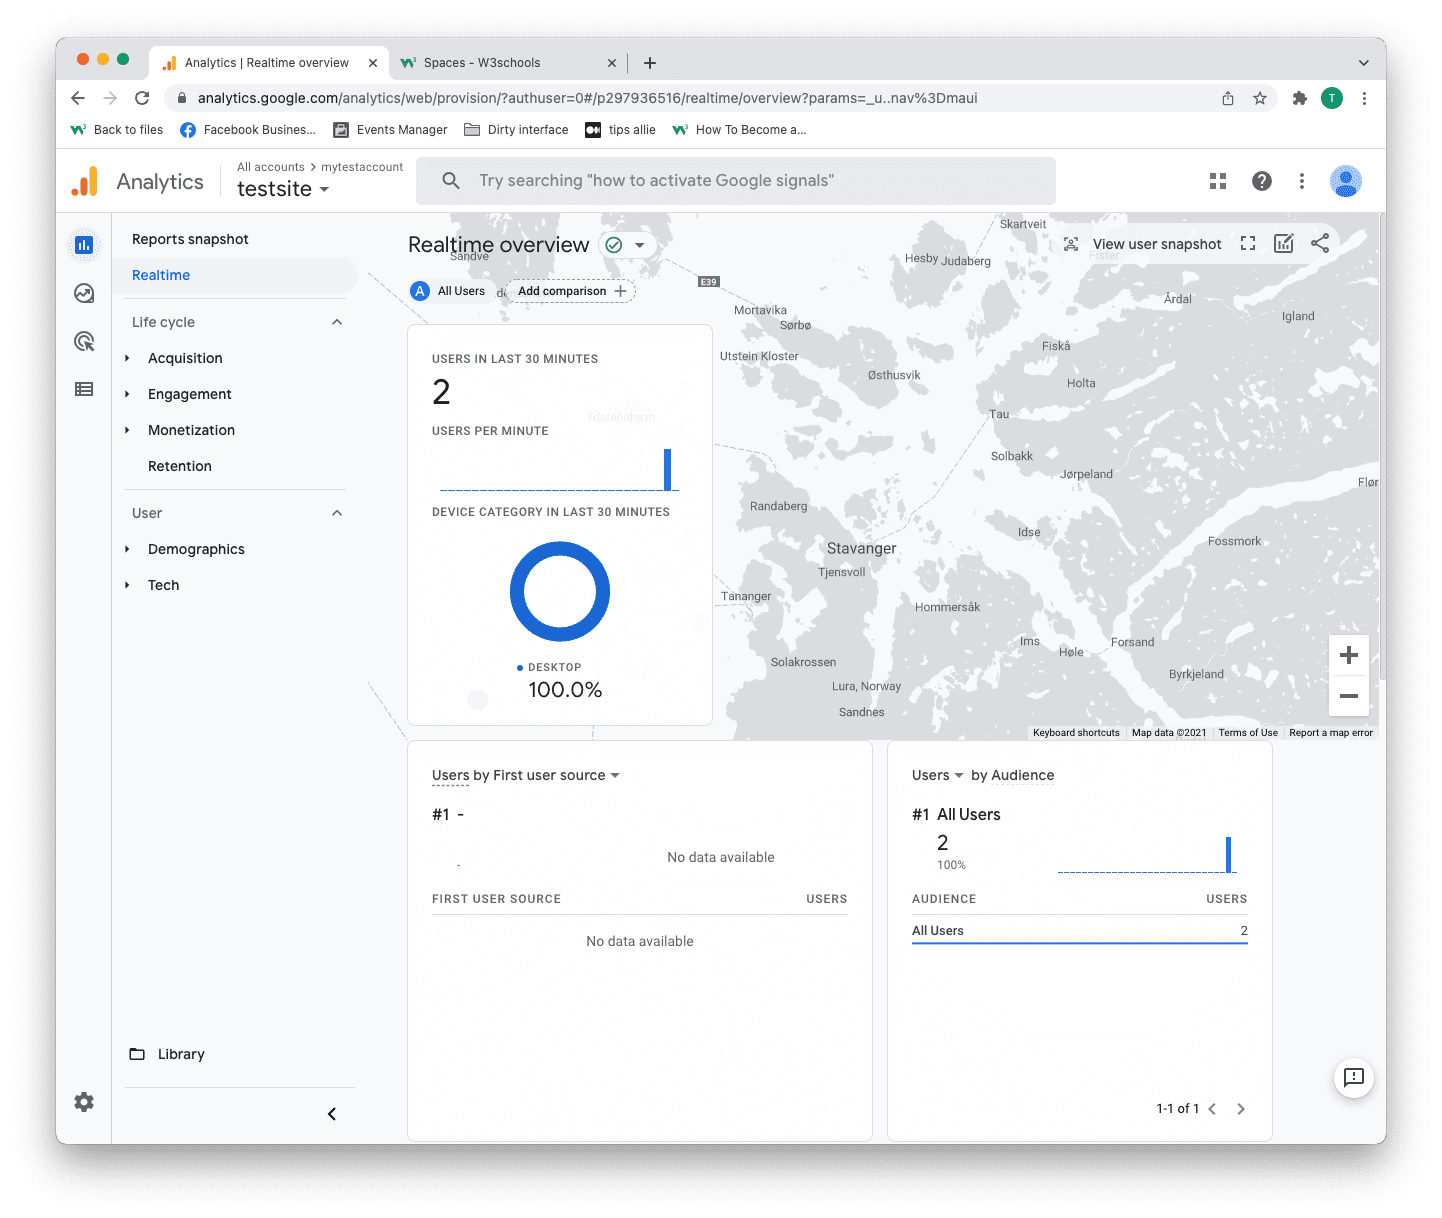
Step 13: Test that it works
Ensure that you have successfully saved and published the code snippet with the correct Measurement ID.
Open the URL for the site you have connected to the data stream.
Click on "Real time" on the menu to the left.
Confirm that you see yourself as an active user.
Congrats. You have successfully enabled Google Analytics for your site!
Explore Google Analytics
Recommended related topics are Tag manager and Events
Spend time in the service to learn about your user activity, commerce, demographics, device, and referrals.
Tip: Ever heard of W3Schools Spaces? It is a personal space where you can make a website from scratch or use a template and host it for free.
It has everything you need in the browser.
Get started in a few clicks.
Start now for free ❯* no credit card required