Imágenes de estilo CSS
Aprende a diseñar imágenes usando CSS.
Imágenes redondeadas
Utilice la border-radiuspropiedad para crear imágenes redondeadas:

Ejemplo
Imagen redondeada:
img {
border-radius: 8px;
}
Ejemplo
Imagen en un círculo:
img {
border-radius: 50%;
}
Imágenes en miniatura
Utilice la borderpropiedad para crear imágenes en miniatura.
Imagen en miniatura:
Ejemplo
img {
border: 1px solid #ddd;
border-radius: 4px;
padding: 5px;
width: 150px;
}
<img src="paris.jpg"
alt="Paris">
Imagen en miniatura como enlace:

Ejemplo
img {
border: 1px solid #ddd;
border-radius: 4px;
padding: 5px;
width: 150px;
}
img:hover {
box-shadow: 0 0
2px 1px rgba(0, 140, 186, 0.5);
}
<a href="paris.jpg">
<img src="paris.jpg" alt="Paris">
</a>
Imágenes receptivas
Las imágenes receptivas se ajustarán automáticamente para adaptarse al tamaño de la pantalla.
Cambie el tamaño de la ventana del navegador para ver el efecto:

Si desea que una imagen se reduzca si es necesario, pero nunca se amplíe para que sea más grande que su tamaño original, agregue lo siguiente:
Ejemplo
img {
max-width: 100%;
height:
auto;
}
Sugerencia: lea más sobre el diseño web receptivo en nuestro tutorial CSS RWD .
centrar una imagen
Para centrar una imagen, establezca el margen izquierdo y derecho autoy conviértalo en un blockelemento:
Ejemplo
img {
display: block;
margin-left: auto;
margin-right: auto;
width: 50%;
}
Imágenes/Tarjetas Polaroid
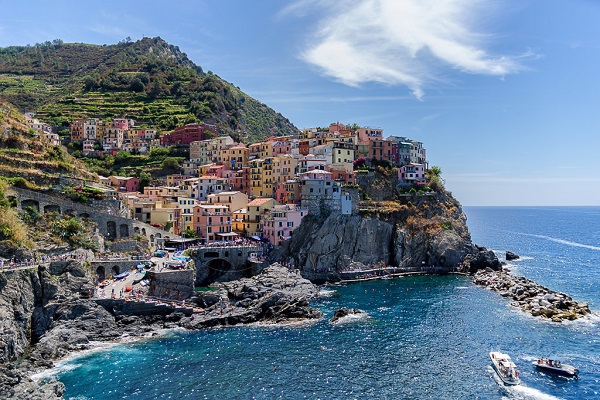
cinco tierras

Auroras boreales
Ejemplo
div.polaroid {
width: 80%;
background-color: white;
box-shadow: 0 4px 8px 0 rgba(0,
0, 0, 0.2), 0 6px 20px 0 rgba(0, 0, 0, 0.19);
}
img {width: 100%}
div.container {
text-align: center;
padding: 10px 20px;
}
Imagen transparente
La opacitypropiedad puede tomar un valor de 0.0 - 1.0. Cuanto menor sea el valor, más transparente:
opacidad 0.2
opacity 0.5
opacity 1
(default)
Example
img {
opacity: 0.5;
}
Image Text
How to position text in an image:
Example
Try it Yourself:
Image Filters
The CSS filter property adds visual effects (like blur and saturation) to an element.
Note: The filter property is not supported in Internet Explorer or Edge 12.
Example
Change the color of all images to black and white (100% gray):
img {
filter: grayscale(100%);
}
Tip: Go to our CSS filter Reference to learn more about CSS filters.
Image Hover Overlay
Create an overlay effect on hover:
Example
Fade in text:
Example
Fade in a box:
Example
Slide in (top):
Example
Slide in (bottom):
Example
Slide in (left):
Example
Slide in (right):
Flip an Image
Move your mouse over the image:
Example
img:hover {
transform: scaleX(-1);
}
Responsive Image Gallery
CSS can be used to create image galleries. This example use media queries to re-arrange the images on different screen sizes. Resize the browser window to see the effect:


Example
.responsive {
padding: 0 6px;
float: left;
width: 24.99999%;
}
@media only screen and
(max-width: 700px){
.responsive {
width: 49.99999%;
margin: 6px
0;
}
}
@media only screen and (max-width: 500px){
.responsive {
width: 100%;
}
}
Tip: Read more about Responsive Web Design in our CSS RWD Tutorial.
Image Modal (Advanced)
This is an example to demonstrate how CSS and JavaScript can work together.
First, use CSS to create a modal window (dialog box), and hide it by default.
Then, use a JavaScript to show the modal window and to display the image inside the modal, when a user clicks on the image:

Example
// Get the modal
var modal = document.getElementById('myModal');
// Get the image and insert it
inside the modal - use its "alt" text as a caption
var img =
document.getElementById('myImg');
var modalImg = document.getElementById("img01");
var captionText = document.getElementById("caption");
img.onclick =
function(){
modal.style.display = "block";
modalImg.src = this.src;
captionText.innerHTML = this.alt;
}
// Get the <span> element that closes the modal
var span =
document.getElementsByClassName("close")[0];
// When the user clicks
on <span> (x), close the modal
span.onclick = function() {
modal.style.display = "none";
}